When you visit any website on the internet, the server delivering the web page instructs your browser on how to process this information by passing meta-data called headers.
In this post, we’ll explore the importance of the X-Frame-Options header in WordPress and how to configure it. Additionally, we will consider a modern replacement for X-Frame-Options, which is supported by most modern browsers.
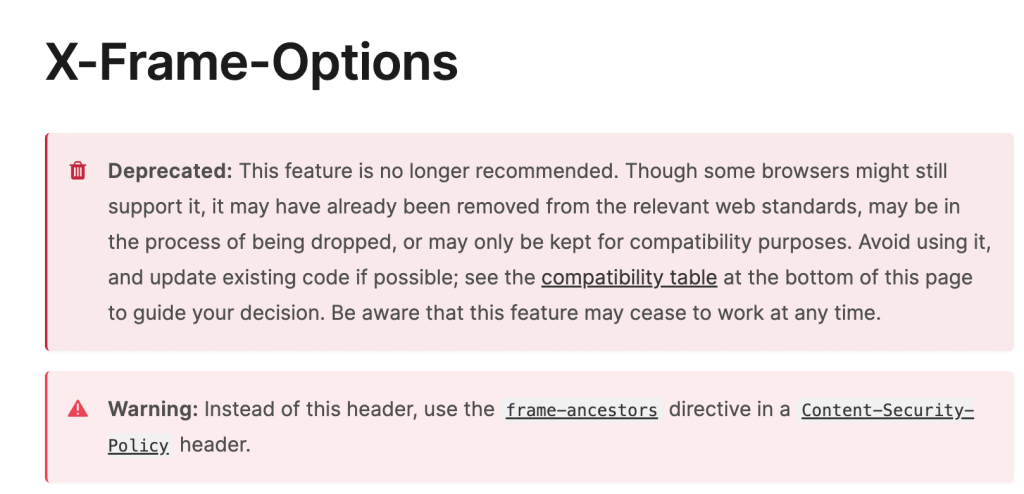
* Please note the X-Frame-Options is now largely deprecated.

Let’s get started!
What is the X-Frame-Options header?
The X-Frame-Options header is a security mechanism that helps protect your WordPress site from a specific type of attack known as clickjacking.
Clickjacking is an attack where an adversary tricks users into interacting with hidden or disguised elements on a web page. These elements are often overlaid on top of legitimate content, leading users to unwittingly perform actions they didn’t intend.
For instance, an attacker might create an enticing page promising a free trip to Tahiti. In the background, they check whether the user is logged in to their banking site. If so, they load the screen that enables fund transfers, cleverly aligning the “Confirm Transfer” button over the visible “Receive Gift” button. When the user clicks, they unknowingly confirm the money transfer.
The X-Frame-Options header helps mitigate clickjacking by controlling how your site can be embedded within frames or iframes.
By setting this header correctly, you can prevent unauthorized framing and reduce the risk of such attacks.
How to use the X-Frame-Options header
The X-Frame-Options header instructs web browsers on how to handle embedding your site within an HTML frame or iframe. It provides three possible values:
- DENY: This value prevents your site from being embedded in any frame, ensuring that it cannot be loaded within another website.
- SAMEORIGIN: With this value, your site can be embedded only within frames originating from the same domain. It allows legitimate uses (such as embedding content within your own site) while blocking cross-origin framing.
- ALLOW-FROM URI: This value identifies a specific URI (e.g., another trusted domain) within which your site can be embedded. However, this option has significant limitations that make it impractical for modern web development. Major browsers like Google Chrome and Safari do not support the ALLOW-FROM directive, effectively rendering it nearly obsolete. In practice, this means ALLOW-FROM is supported only by older versions of Internet Explorer and some older Firefox releases.
Configuring X-Frame-Options in WordPress
Let’s walk through the steps needed to configure the X-Frame-Options header in your WordPress site:
Using Patchstack
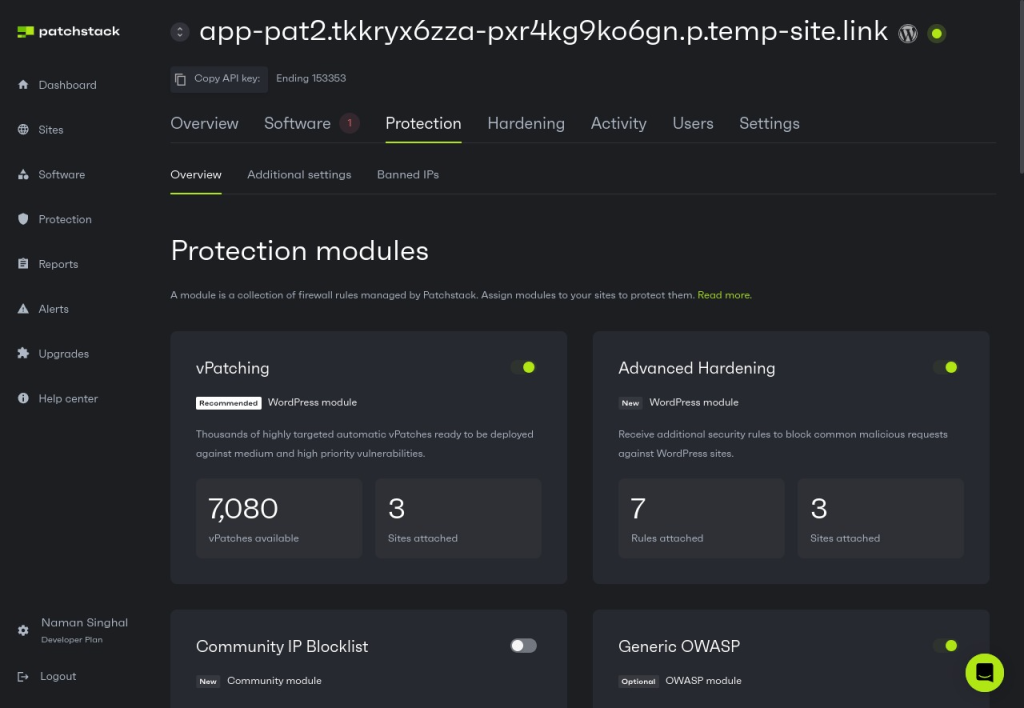
Installing Patchstack on your WordPress site is the quickest, easiest way to configure this header (and many other security features).
Once you install and enable Patchstack on your site, it will automatically configure all the basic security settings needed.

If you’re not sure how to install Patchstack, then read our step-by-step guide for installing Patchstack on WordPress sites.
Edit your theme’s functions.php file
Another way to add the X-Frame-Options header in WordPress is by writing some PHP code which will add the header whenever a web page is served.
Although you can modify the code of any existing theme on your site, we recommend creating a new child theme for this, as any modifications you make to the child theme’s files won’t be overwritten during theme updates.
To create a child theme for adding the X-Frame-Options header, follow these steps:
- Navigate to your theme directory:
- Log in to your WordPress dashboard.
- Go to the File Manager or use an FTP client to access your website’s files.
- Find the wp-content/themes/your-theme-name/ directory – this is where your theme files are stored.
- Create a child theme folder:
- Inside the theme directory, create a new folder for your child theme and give it a unique name (e.g., my-theme-child).
- Create a stylesheet for your child theme:
- In the child theme folder, create a file named style.css.
- Add the following basic information at the top of the file:
/*

 Theme Name: My Theme Child

 Template: your-theme-name

*/- Replace your-theme-name with the actual name of your parent theme.
- Create functions.php for child theme:
- Open your child theme’s functions.php file (create one if it doesn’t exist).
- Add the following code snippet at the end of the file to set the X-Frame-Options header to SAMEORIGIN:
function enqueue_child_theme_styles() {

    wp_enqueue_style('parent-style', get_template_directory_uri() . '/style.css');

}

add_action('wp_enqueue_scripts', 'enqueue_child_theme_styles');

function add_x_frame_options_header() {

    header('X-Frame-Options: SAMEORIGIN');

}

add_action('send_headers', 'add_x_frame_options_header');- This ensures that your child theme inherits styles from the parent theme and then adds the X-Frame-Options header to your site.
- Activate your child theme: Go back to your WordPress dashboard and navigate to Appearance > Themes. On this screen, you will see the theme that you just created. Activate it to start using it on your site.
Editing the .htaccess file in Apache
The .htaccess file is a configuration file used by your server to perform specific actions such as blocking traffic to a certain directory or adding security headers. You can modify it to add the X-Frame-Options header to your WordPress site.
- First, you need to access your WordPress installation directory (e.g., via cPanel or FTP).
- In your WordPress directory, you need to edit the .htaccess file if it exists. If it does not, you need to create a new one.
- Add the following text snippet at the bottom of the file to configure the X-Frame-Options header and set it to SAMEORIGIN:
Header always append X-Frame-Options SAMEORIGIN
After modifying the file, you can save it and refresh your website to verify the changes.
Configuring settings in Nginx
If you are using a Nginx server, you can create custom Nginx settings to add headers to your HTTP requests. It is possible to apply this configuration to all the websites on your server by editing your primary Nginx configuration file, which is typically found at /etc/nginx/nginx.conf. Alternatively, you can also create a site-specific configuration in /etc/nginx/sites-available/.
Open the desired configuration file using a text editor with sudo privileges, for example, you can run the command sudo nano /etc/nginx/sites-available/your-domain.conf to edit the settings for the your-domain website. In this file, you will need to locate the server block of your Nginx configuration and add the X-Frame-Options header using the add_header directive.
server {

# ... existing configuration

# X-Frame-Options and additional security headers

add_header X-Frame-Options SAMEORIGIN always;

# Other server configurations...

}
After adding the header, save the configuration file and perform a syntax check to ensure no configuration errors have been introduced. You can run sudo nginx -t to validate the configuration. If no errors are reported, you can reload the Nginx service using sudo systemctl reload nginx or sudo service nginx reload, depending on your system's init system.
Testing X-Frame-Options header configuration
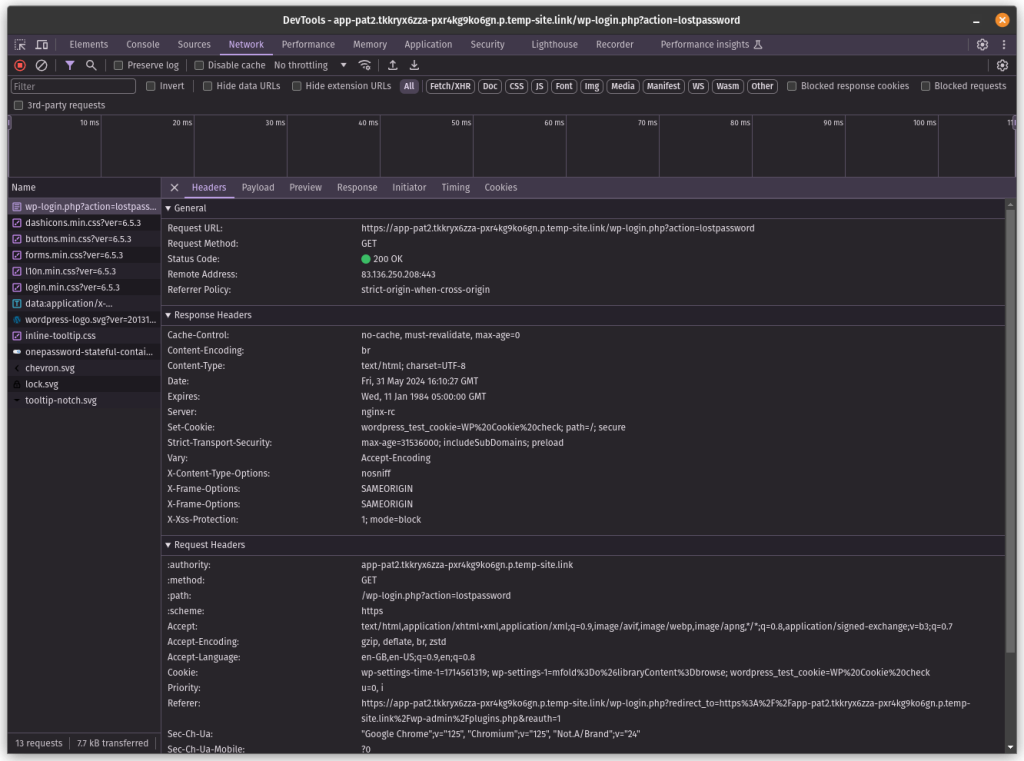
Once you have configured the X-Frame-Options header on your site, you can easily check it without using any additional tool or service. Just open the DevTools in your browser and navigate to the Network tab.
Next, you need to inspect any network request coming from your domain. Don’t check requests for any other assets such as fonts which might be fetched from a different domain. When you click on a request, a tab will appear which will show request details. In this tab, make sure the X-Frame-Options header contains the value that you specified earlier.

Transitioning from X-Frame-Options to CSP frame-ancestors
The X-Frame-Options header has long been a critical tool for web security. However, the CSP frame-ancestors directive provides a more sophisticated and flexible approach to frame protection. Unlike the limited options of X-Frame-Options, CSP provides granular control over framing, allowing developers to specify multiple trusted domains, implement more complex embedding rules, and integrate seamlessly with broader security policies.
It also enables developers to precisely define which domains can frame their content. For instance, a website might allow embedding from its own domain and specific trusted partners while completely preventing framing from unauthorized sources. For example, consider the following policy:
Content-Security-Policy: frame-ancestors 'self' https://trusted-partner1.com https://trusted-partner2.com
In this code snippet, the policy allows framing only from the site's own domain and two specific trusted domains. The 'self' directive ensures that the site can frame its own content, while the additional HTTPS domains provide controlled access to trusted partners.
Wrapping Up
The X-Frame-Options header is essential to prevent attackers from embedding your site in their website using iframe tags. Adding this header to your site boosts security and blocks a number of cyber attacks, but it doesn’t make your site completely secure.
To protect your site, you need to keep track of all the plugins and themes installed on your WordPress website and update them as soon as any new vulnerability is released. This is where Patchstack comes in!
Patchstack is the ultimate WordPress security solution developed by the most reputed white hat hackers in the WordPress community.
Why wait? Install Patchstack on your site today!
Frequently Asked Questions (FAQs)
What is clickjacking?
Clickjacking is a deceptive technique where an attacker tricks a user into clicking on something different from what they see. It involves overlaying an invisible or disguised element (such as a button or link) on top of a legitimate website.
The user unknowingly interacts with the hidden element, which can lead to unintended actions. For example, an attacker might overlay a “Download” button on a legitimate site, but the user ends up downloading malware instead.
Why should I care about security headers?
Security headers are essential for protecting your website from various threats. They provide an additional layer of defense beyond traditional security measures. In addition to preventing common attacks like cross-site scripting (XSS), clickjacking, and content sniffing, these headers also control how browsers handle data, ensuring better privacy for users.
Is X-Frame-Options the only relevant header?
While X-Frame-Options is important for security, there are other security headers you should explore:
- Content Security Policy (CSP): This policy defines which content sources are allowed (e.g., scripts, styles, images) and helps prevent XSS attacks.
- Strict Transport Security (HSTS): Enforces HTTPS, ensuring secure communication between the browser and server.
- X-XSS-Protection: Enables browser-based XSS filtering.
- X-Content-Type-Options: Prevents browsers from interpreting files as different MIME types.
- Referrer-Policy: Controls how much referrer information is sent when navigating from one site to another.


